By Carmel Schvartzman
In this tutorial we'll learn how to Design a Grid using the Twitter Bootstrap in our AngularJS Blogs Application.You can follow this step by step tutorial as a standalone, or you can learn all the posts to build the entire app. This is the STEP 13 in this walkthrough to design an end-to-end AngularJS client MVC app.
In the MODEL-VIEW-CONTROLLER architecture of AngularJS, a VIEW is related to a MODEL in the configuration step of the AngularJS app live, when we link it to some CONTROLLER.
This linking action is set in a Module, with the function of declaratively set how the AngularJS app should be bootstrapped. It's like the Main method in a program, setting the instantiation of the application.
Because AngularJS is based on the Dependency Injection paradigm, here is the place to configure the app injecting the functionality that we'll need.
We'll be adding CSS style by means of the Twitter Bootstrap (see Tutorial 5 for an step by step explanation on how to add the bootstrap to the application ) to a Grid we created in Tutorial 12 , that displays data returned by the REST back-end we created previously in Tutorial 10 , and the final cut will be exposed like this:

- The following snapshot represents the AngularJS grid as we leave it in the previous tutorial:

- As you can see, we have some issues to fix in that grid: the dates are not correctly displayed, and the picture is reduced to the address of the jpg in the machine. Also there is no style exposed. Let's enhance the grid. First let's check why the dates are displayed that way. Go to the REST API in the file BlogController and set the DatePosted field in the following way:

- Now switch to the BlogsList.html file and set the DatePosted column according to the AngularJS notation to display a user friendly date:

- Save and Refresh the page, and check we get the appropriate dates:

- Next problem is displaying the pictures. You can see the REST api response loads the names of the pictures:

- We placed the pictures in a special folder called "Orchids":

- Therefore we'll set the file system address of the pictures relative to our web site as follows:

- Save the html and refresh the wev page, and now we can see the pictures have been displayed correctly:

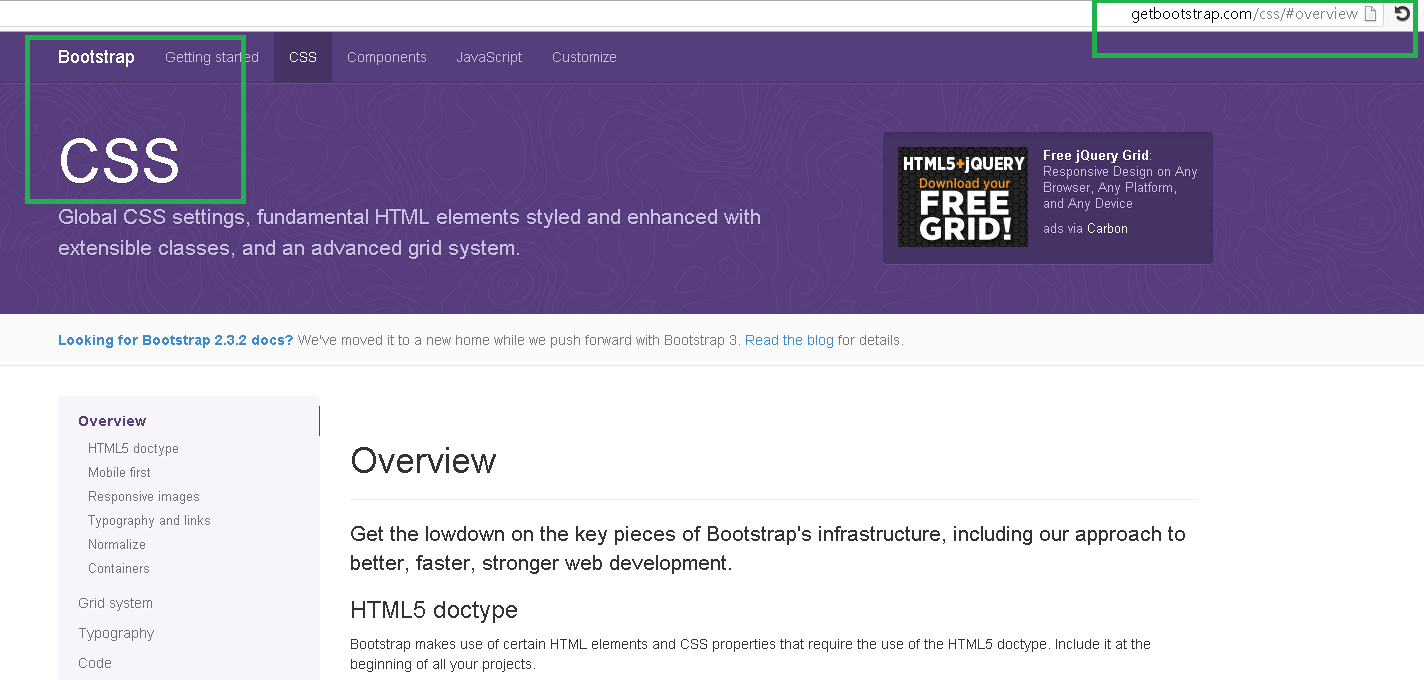
- The next step is to add CSS style to our grid. Instead of reinventing the wheel, we'll make use of the Twitter Bootstrap. Go to the bootstrap site :
- ... and click on the "TABLES" menu link:

There we'll find samples of table's styles ready for use. - Also, in our project we can check out the bootstrap.css Twitter file to see the different tables styles:

- I decided to use the "table-stripped" style; you can use whatever you like:

- After adding the "class" attribute to our grid, refresh the web page to see the final display:
Happy programming.....
כתב: כרמל שוורצמן
No comments:
Post a Comment